Articulated measuring arms are portable coordinate measuring machines designed to make precision measurements with a probing system (contact measurement) as well as with a 3D scanner (contactless measurement). They are also called multi-joint arms and portable CMMs. Their simplicity and ease of use make them accessible for any user.
Thanks to their high mobility, measuring arms can be moved easily and thus used in different environments, be in a design office, metrology room or workshop. They get as close as possible to the parts to be measured and can be integrated into the design and manufacturing processes without interrupting them. Measuring arms offer great flexibility of use for a wide variety of applications: quality control, 3D inspection, reverse engineering, maintenance or rapid prototyping.
How does a measuring arm work?
Calculating the position of the end of the arm in real time.
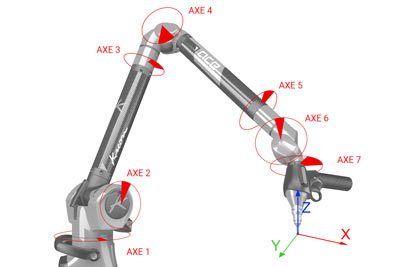
The structure of a measuring arm is based on that of the human arm, with axes of rotation similar to joints like the shoulder, elbow and wrist and segments like the forearm and arm.
Taking into account the geometric lengths of the elements that comprise the arm and the angular positions returned by the encoders present in each axis makes it possible to determine the exact position of the tip of the arm in space in real time (in the form of 3 XYZ coordinates). The choice of encoders and their resolution is an important criterion for the final accuracy of the measuring arm.
Obtaining the measurement accuracy.
To accurately characterise the complete geometry of the arm, a calibration process is used.
Validation tests are then carried out to verify this calibration and thus guarantee the quality of the measurements taken by the user.
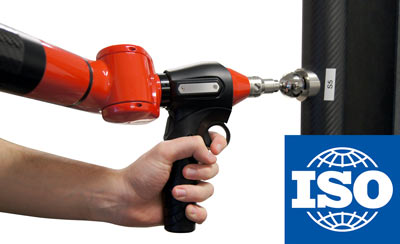
Kreon arms comply with the international standard ISO 10360-12, which specifies these tests. They can therefore be used with confidence to probe geometries with high accuracy requirements, but also to quickly scan and inspect the surfaces of parts.
Impeccable measurements whatever the environment.
The use of appropriate materials, such as carbon and aluminium, gives the arms rigidity and robustness while the light weight ensures easy portability. The portable CMM operates anywhere in the company and adapts to different environments, both indoor and outdoor, while maintaining stable accuracy by compensating for temperature variations.
The integrated battery, along with wireless connection, provide freedom from the constraints of cables and facilitate the use and portability of the measuring arms.

What is the purpose of a measuring arm?
Measuring arms allow efficient inspection of small or large parts, including complex ones.
Many industries use measuring arms. They are mainly found in aeronautics and the automotive industry and more generally in the industrial field, be it for quality control, 3D inspection or reverse engineering.
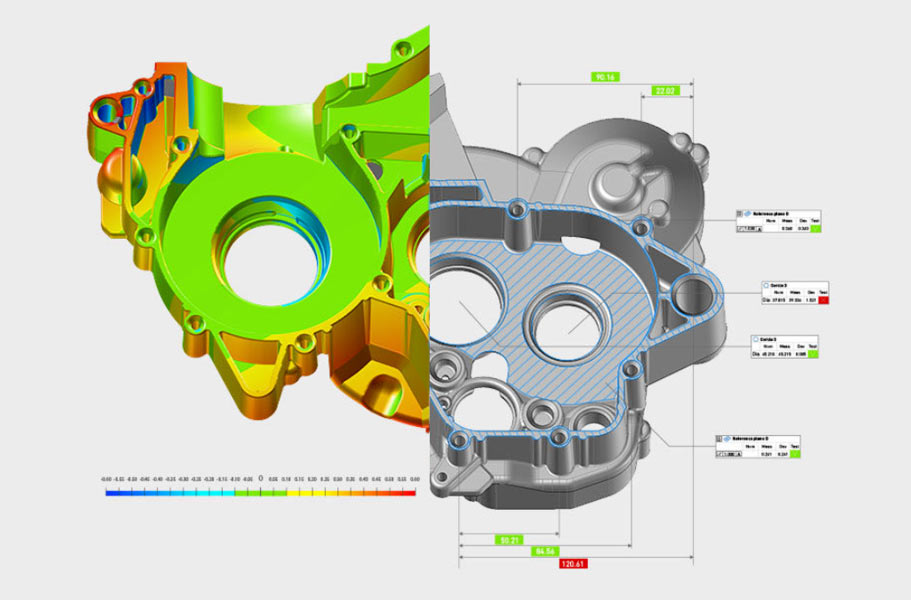
So an operator may use it to, for example, check the dimensions and tolerances on a part via GD&T (Geometric Dimensioning and Tolerancing) with the help of metrology software.
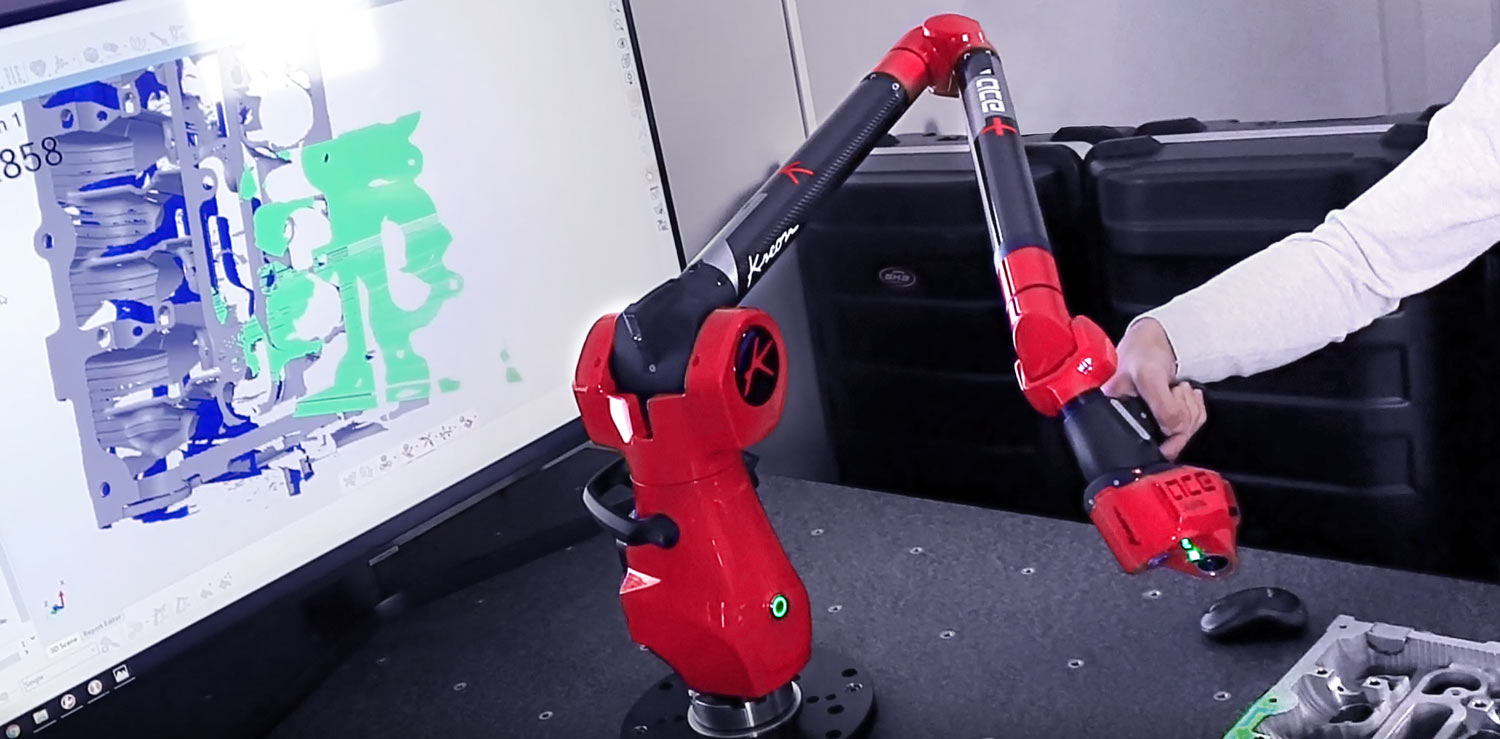
CAD comparison based on scanned data is one of the most common applications. This involves comparing the defects or deformation of a real part with its theoretical CAD model. Color mapping is used to clearly illustrate potential deviations and thus validate, or not, the conformity of the part.
Reverse engineering, on the other hand, is widely used when the CAD model of a part is not available. The complete digitisation of a part with a 3D scanner makes it possible to capture the smallest details and build the CAD model, which is essential nowadays in the manufacturing process.
What configuration for a measuring arm?
Choosing between versions with 6 or 7 axes of rotation.
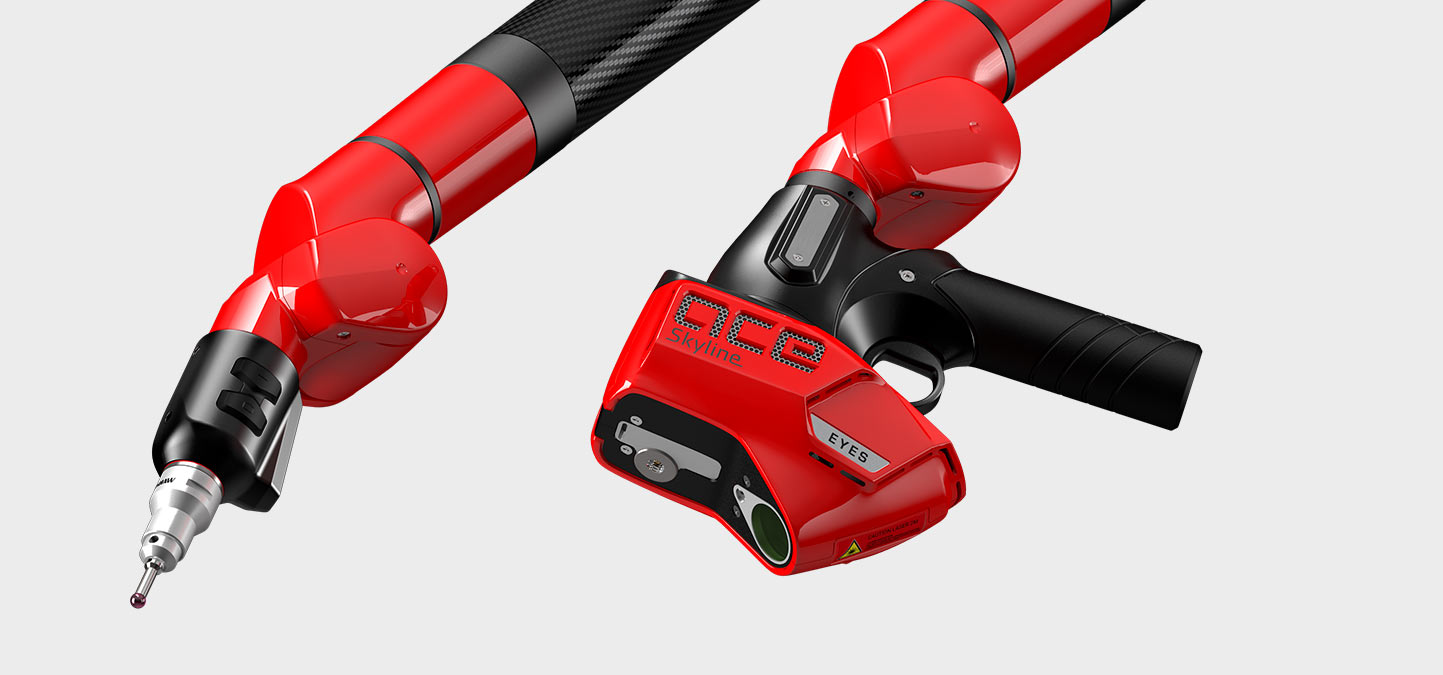
A measuring arm may have 6 or 7 axes of rotation. Originally only the 6-axis version existed. Very accurate, it was only intended for probing applications.
With the advent of certain accessories and in particular 3D scanners, a new axis was added. Equipped with a handle, it provides the additional freedom of movement necessary to competently manoeuvre the scanner in space. This 7-axis version of the arm, a little less accurate due to that additional axis, is nevertheless more versatile because it can be used for both probing and scanning.
The handle, used to manipulate and guide the scanner, can sometimes prove cumbersome and troublesome when probing certain cavities. Hence some models, such as the new Onyx arm, have a removable handle.
Choosing the right size of measuring arm.
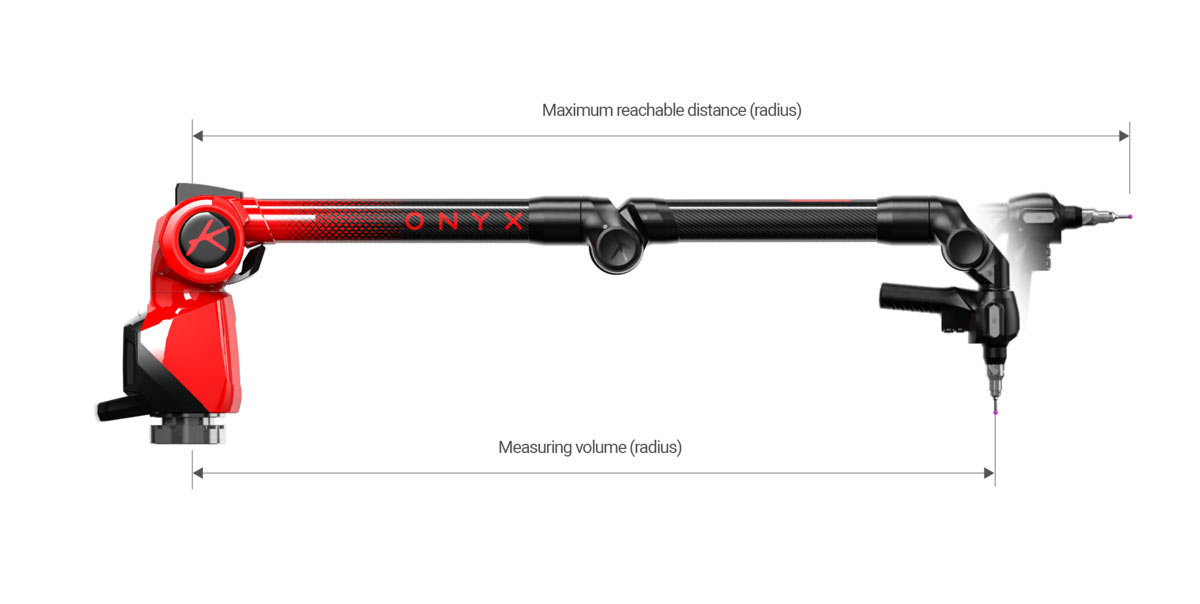
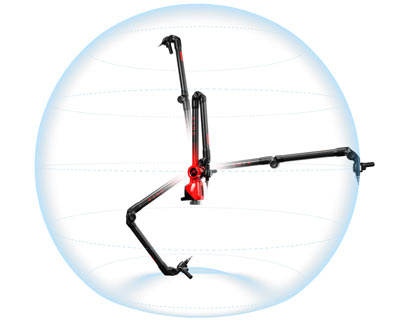
The measuring volume – or size of the arm – corresponds approximately to the diameter of a sphere within which the measuring arm can take measurements. It is directly related to the length of the tubes of the arm. The accuracy of an arm also depends on this parameter, whereby the smaller the arm, the more accurate it is. A distinction is made between the measuring volume and the maximum reachable distance (see drawings).
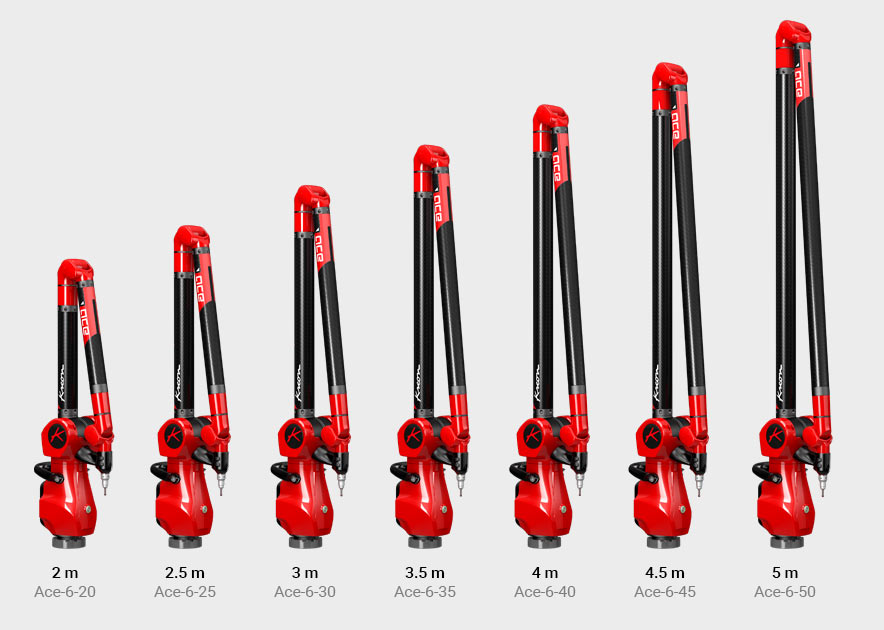
Kreon offers a wide range of 6 and 7-axis arms, varying in size from 2m to 5m.
Choosing the most suitable measuring arm therefore involves a compromise between the accuracy required and the work volume desired.
